To Install Bath Wall Surround / Wall Surrounds - Bathtub Renew.com : Some are specifically made for corner showers.. How to install a shower wall surround. Tub surround adhesive with low odor, low voc and easy water cleanup is an ideal interior construction. Start by lining them up with your tub, and apply caulk on the back of the panel in a zigzag pattern. Most use panels that rise to about 72 to 80 inches above the floor. Manufacturers often supply a tube of latex adhesive caulk.
Take careful measurements, dry fit your shower surround to ensure the right fit and then install the panels. Ready to start your project? Firmly apply pressure all along the panel, making firm contact with the wall. A tub surround can go over virtually any wall that is solid, including drywall, plaster, or tile (just give your ceramic tile a good cleaning and a light sanding to help the glue bond to the tiles). Glass is definitely waterproof, but not always realistic.
Green Bay Wall Surrounds | Green Bay Bath and Shower ... from remodelerplatform.blob.core.windows.net Still, it is very futuristic looking, which is kind of cool. Shower surround installation labor, basic basic labor to install shower surround with favorable site conditions. Some are specifically made for corner showers. Press it firmly onto the wall, then pull it back about 6 inches for a few minutes (or per the manufacturer's instructions) to let the adhesive set up. Ln715 tub surround and shower wall is recommended for bonding most plastic and fiberglass tub and shower surrounds to drywall, plywood, greenboard, cement backerboard, and ceramic tiles. How to install shower wall. Using the tub/shower surround carton for a template, mark holes where the showerhead, faucet handles, or spout will protrude through the wall. Standard surround kits are sized to accommodate varying wall sizes and shower kits usually include a base, 3 back and end wall panels.
They are beautiful and easy to install if you have the right guidance.
Push the panel back in place. Another option for waterproof bathroom walls would be to install glass walls. Tub surround adhesive with low odor, low voc and easy water cleanup is an ideal interior construction. I think the sterling® ensemble medley® tub/surround is the perfect choice for a diy bath remodel project. Create a sophisticated bathroom space with unparalleled ease and speed. Take careful measurements, dry fit your shower surround to ensure the right fit and then install the panels. Remove existing wall mounted fixtures. Draw a level line around the three walls at a height marking the top edge of the surround panels. To properly install the new wall panels, you will need smooth, flat edges on the bathtub or shower base. Most use panels that rise to about 72 to 80 inches above the floor. Glass is definitely waterproof, but not always realistic. The side panels of the bathtub surround should be installed first. No shower is complete without the proper encasement.
Press it firmly onto the wall, then pull it back about 6 inches for a few minutes (or per the manufacturer's instructions) to let the adhesive set up. Transform the look of your shower with our ready to install tub and shower walls. Create a sophisticated bathroom space with unparalleled ease and speed. Corner molding may also be part of a shower wall kit. Take careful measurements, dry fit your shower surround to ensure the right fit and then install the panels.
Minneapolis and St. Paul Tub Surrounds | Minnesota Bath ... from remodelerplatform.blob.core.windows.net Apply firm pressure across the entire panel surface to ensure good contact with adhesive. Another option for waterproof bathroom walls would be to install glass walls. No shower is complete without the proper encasement. Start by lining them up with your tub, and apply caulk on the back of the panel in a zigzag pattern. Shop all shower walls & surrounds share: This may vary depending on your kit; Press it firmly onto the wall, then pull it back about 6 inches for a few minutes (or per the manufacturer's instructions) to let the adhesive set up. Still, it is very futuristic looking, which is kind of cool.
Standard surround kits are sized to accommodate varying wall sizes and shower kits usually include a base, 3 back and end wall panels.
Press it firmly onto the wall, then pull it back about 6 inches for a few minutes (or per the manufacturer's instructions) to let the adhesive set up. How to install a shower wall surround. Ready to start your project? Set the back section of the surround on the tub rim, holding it in place temporarily with a nail above the top flange. Standard tub kits usually come with 2 back panels, 2 end wall panels and 1 or 2 batten strips. Press the tub panel firmly to the wall within 10 minutes of applying the adhesive. Firmly apply pressure all along the panel, making firm contact with the wall. Another method of making your shower wall look amazing is by using a wall surround. Set the back surround panel into place and then set the side panels. Chisel off protruding studs and trim the drywall as necessary to get a good fit. Still, it is very futuristic looking, which is kind of cool. Create a sophisticated bathroom space with unparalleled ease and speed. Draw a level line around the three walls at a height marking the top edge of the surround panels.
This may vary depending on your kit; Use it to fill the gap between the walls and the panels around the perimeter, including the tops of the panels. Take careful measurements, dry fit your shower surround to ensure the right fit and then install the panels. Tub surround adhesive with low odor, low voc and easy water cleanup is an ideal interior construction. Position the panel on the wall.
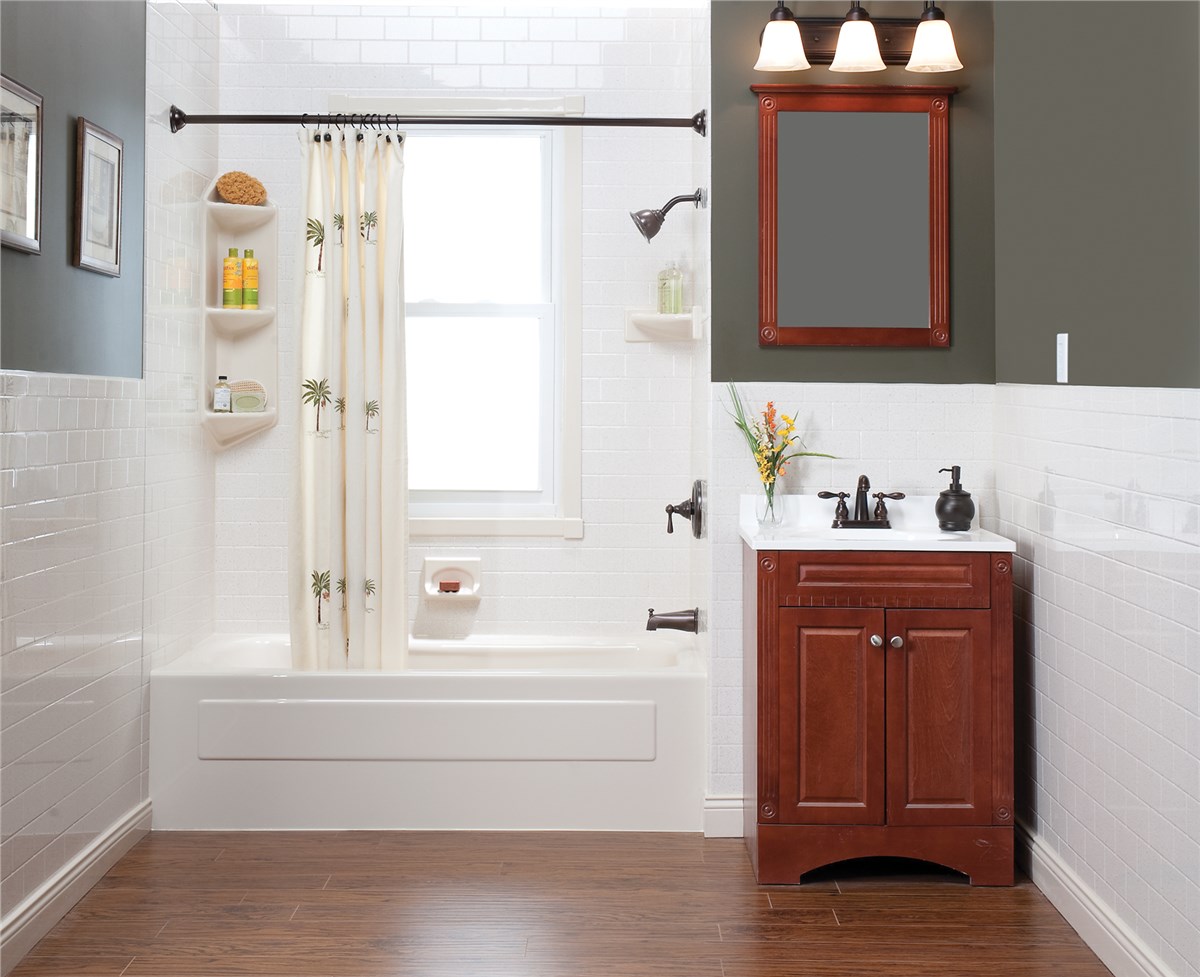
Tub surround with window cutout | Bathrooms remodel ... from i.pinimg.com Here's an easy guide that will show you a 3d version of installing a shower wall. This easy to clean versatile surround includes built in deep shelving to keep your showering area well organized. At american standard, we offer various styles for your convenience. You can do it too!!!#bathroomrenovation #bathroo. Step 6 lay the carton template on top of the panel for that wall and use a hole saw or a jigsaw to cut out the holes. Still, it is very futuristic looking, which is kind of cool. Remove existing wall mounted fixtures. Standard surround kits are sized to accommodate varying wall sizes and shower kits usually include a base, 3 back and end wall panels.
You can do it too!!!#bathroomrenovation #bathroo.
Apply the adhesive in a continuous vertical bead to the panel starting 1 (2.5 cm) in from the edge and continuing every 6 (15 cm) across the panel. American standard 60 shower wall surround side and back wall kit (common: This may vary depending on your kit; To remove the tub spout, feel for a recess along its underside. This easy to clean versatile surround includes built in deep shelving to keep your showering area well organized. However, if your bathtub walls are spongy or soft, you need to repair them before you install the surround. Transform the look of your shower with our ready to install tub and shower walls. Using the tub/shower surround carton for a template, mark holes where the showerhead, faucet handles, or spout will protrude through the wall. A tub surround can go over virtually any wall that is solid, including drywall, plaster, or tile (just give your ceramic tile a good cleaning and a light sanding to help the glue bond to the tiles). No shower is complete without the proper encasement. They are beautiful and easy to install if you have the right guidance. Start by lining them up with your tub, and apply caulk on the back of the panel in a zigzag pattern. Position the panel on the wall.